So, if you want to tweak these default settings on your Mac, read on.
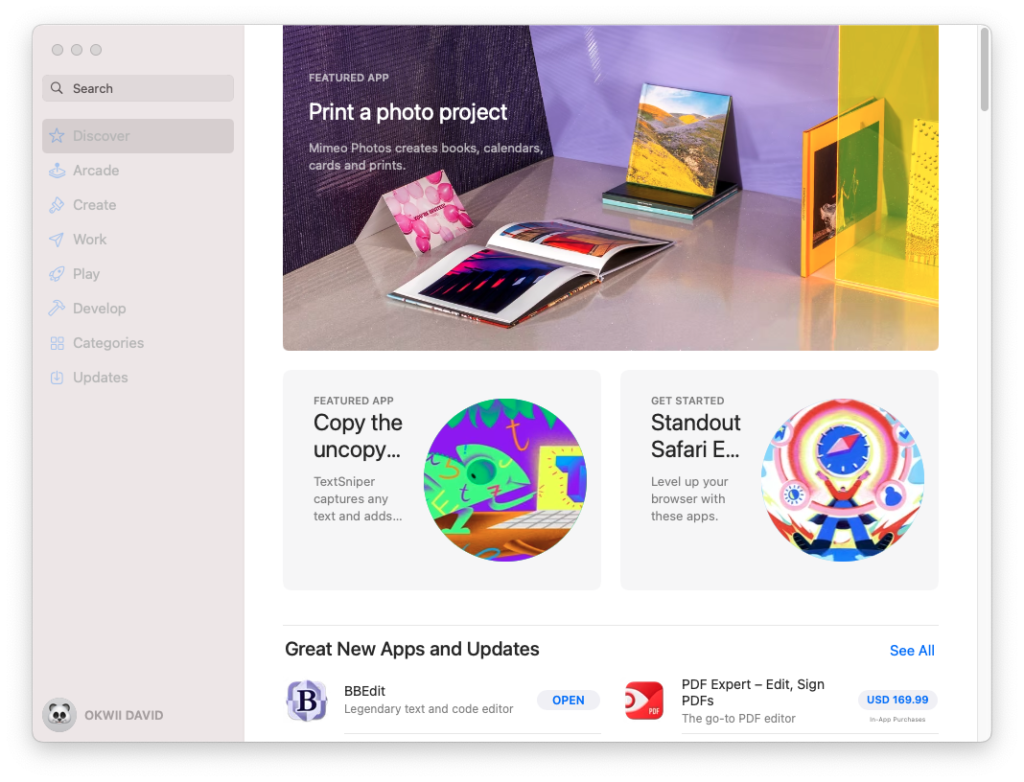
When you take a screenshot on Mac using shortcuts either Press Shift-Command-3 to take the entire screen or Press Shift-Command-4 to capture a portion of the screen, by default, MacOS adds a background shadow around the image. For instance, you can see the screenshot of the Apple store below has a background shadow added to it.
This can be cool sometimes for instance when you want to share the screenshot on social media sites. However, other times, you don’t want to have this effect.
Removing the screenshot image shadow
To remove the shadow effect on your screenshots, you can use two methods; using shortcuts and the command line. When you use shortcuts, the shadow effect is turned off for only that screenshot you are taking. However, if you want to make this change permanent, then you will have to use the command line. Let me show you both ways;
Using shortcuts to temporarily turn off shadow effect To take screenshot of a windows for example without a shadow,
Press command + shift + 4 (the mouse pointer turns into crosshair).Then type the spacebar (the crosshair turns into a camera icon).Hover the mouse pointer (a camera icon now), to highlight the chosen window.Finally, hold the option key and click.
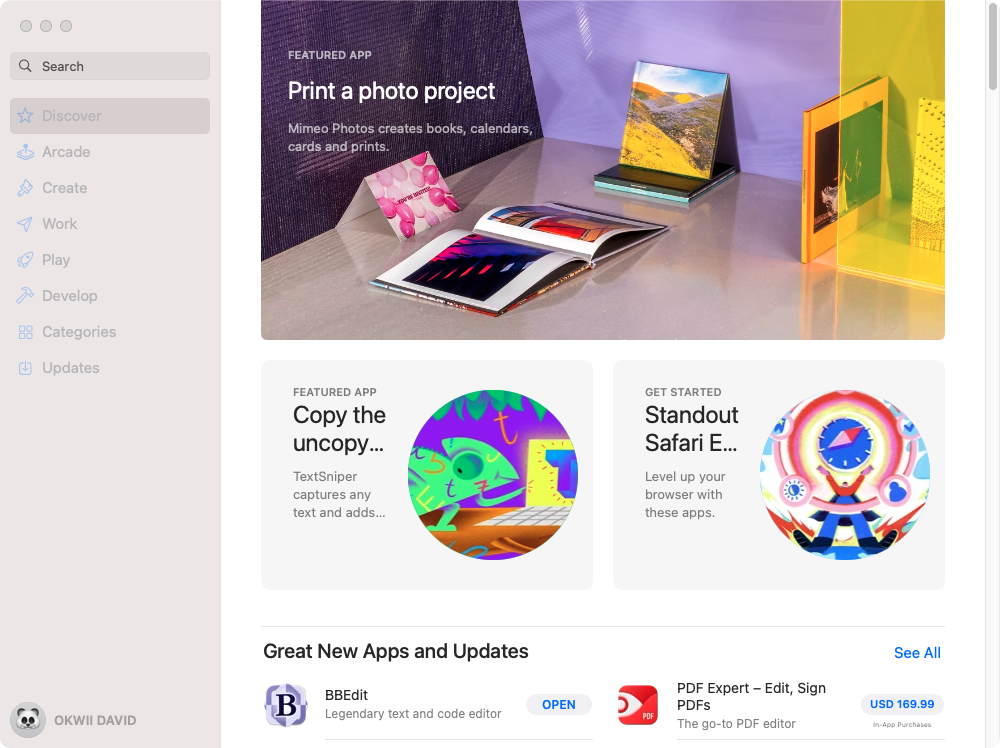
When you open the screenshot and preview it, you shouldn’t see any background shadows. Here’s the same screenshot without background shadow. Now if you want to make this change permanent, you can issue some commands on the terminal to turn off the shadow.
Using command line to permanently turn off shadow effect To do that, open the terminal application from the launchpad or using spotlight by simply searching “terminal”. Then execute the following command; Pay attention to the -bool true parameter. If you wish to bring back the shadow, then change -bool true to -bool false.
Changing the default PNG image format to JPG
When you take a screenshot on your Mac, the default image format is a PNG. However, the PNG images are usually extremely big. If you are going to post these images on your website, it’s going to feel slow. So I always prefer the JPG file format since it’s much lighter.
With this command, you can change the image format from the default PNG to JPG using the terminal application. So open the terminal app type in the command;
Note the parameters type jpg. That means you can change the image file extension back to PNG if you want by simply replacing jpg with png. Here’s our Youtube tutorial on how to remove the shadow effect and change the default image file format;
Alright, that sums up how to remove the shadow and change the default image format on MacOS.