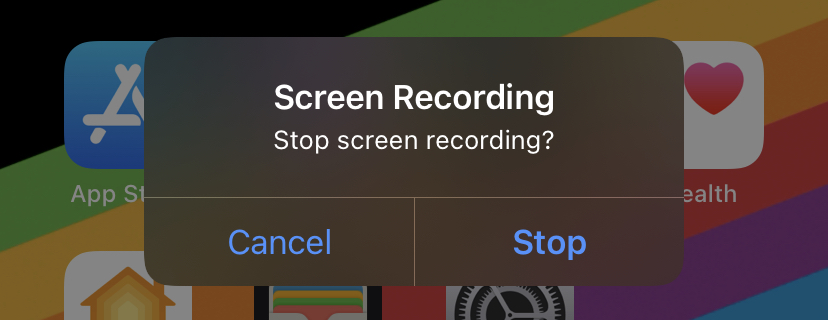
You can record your screen on these Apple devices with just a tap or click on the devices. In this post, we’ll hold you by the hand and show you how to do this. Read through. READ MORE: How to Forget Wi-Fi Network on iPhone, iPad, or Mac.
Record Screen on iPhone, iPad
Recording your screen only works on iOS 11 or later. Follow the steps below to record your screen on an iPhone or iPad.
First, you need to add the Record button to the Control Center. To do this, go to Settings > Control Centre > Tap the green “+” button beside Screen Recording.
Next, open Control Centre on iPhone or iPad.Tap and hold the gray Record button you see.
Toggle the microphone on or off depending on your preference – if you want the screen recording to have sound or not.
Tap on Start Recording.
To stop recording, open the Control Centre and tap on the red Record button. Another route to do this is tap the red status bar at the top of the screen and select Stop.
Record Screen on Mac
To record your screen on a Mac, you’d have to use the screenshot toolbar. Follow the steps below to record your screen on a MacBook.
Open the screenshot toolbar by pressing Command+Shift+5.Click the screen+record icon, the cursor turns into a camera iconClick anywhere on the screen to start recording or click Record in the controls that appears on the screenTo record a selected portion of the screen, instead of the screen+record icon, click on the screen+record icon with dotted lines > Drag to select the portion of the screen you want to record > click Record
Recording your screen on these devices also records whatever notifications come in. Hence, you should put your device on the ‘Do Not Disturb‘ mode to prevent notifications from interrupting the flow. If you face any issues doing this or get stuck, please leave a comment below and we’ll try to help the best way we can.


